
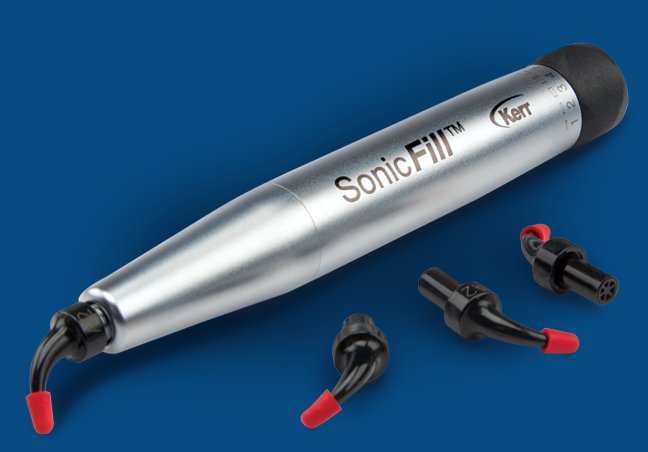
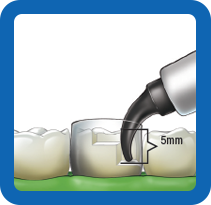
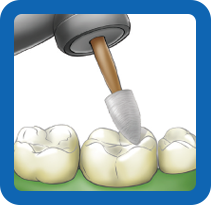
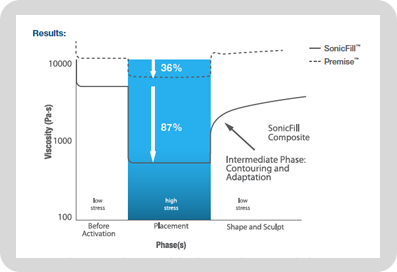
SonicFillTM 2 – Better adaptation, lower shrinkage and higher depth of cure – all with Single-FillTM placement.
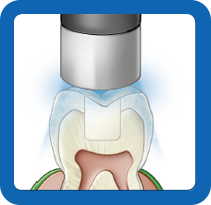
SonicFill 2 transforms tedious,
repetitive posterior restorations
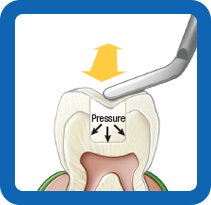
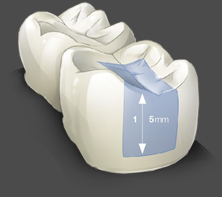
into easy and reliable Single-Fill placement: filling cavities up to 5mm in depth in a single increment,
with a single material – and no liner or capping layer.
See why these doctors are never going
back to layering their composites.

Dr. Ralph Reyes

Dr. Jacklyn Azarian

Dr. Craig Shore
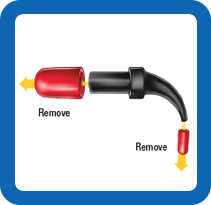
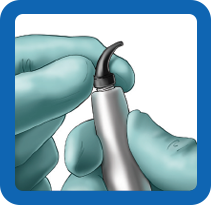
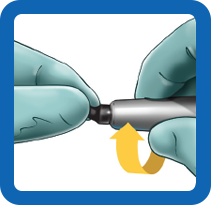
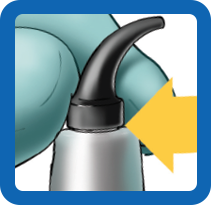
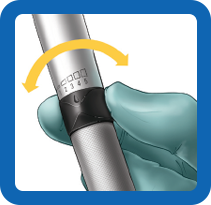
Learn how SonicFill works!

SonicFill Tooth on a Slide

SonicFill 2 in Action

SonicFill 2 Direct Procedure
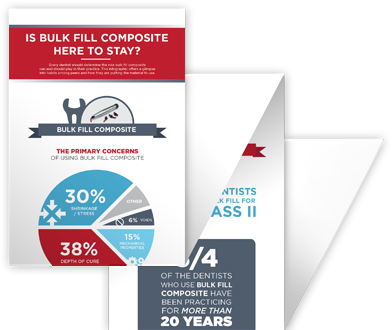
Bulk Fill is here to stay.
Download the newest infographic that details how bulk fill technology is being used by your peers.
CHECK OUT THE BULK FILL
COMPOSITE INFOGRAPHIC!
Download Infographic
COMPOSITE INFOGRAPHIC!

Multi
Layers
Layers
Traditional
layering
technique.
2 Layers
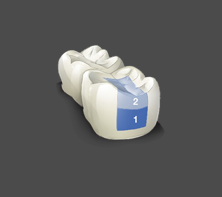
Bulk fill
flowable
with universal
cap.
2 Layers
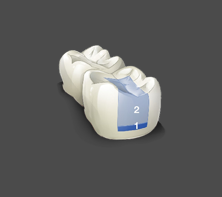
High viscosity
bulk fill
restorative with
flowable liner.
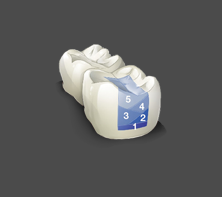
1 Layer!
SonicFill System
Only One Layer.
Learn more
about SonicFill!
Get our current brochure and see how SonicFill is engineered to
provide better adaptation, lower shrinkage, a higher depth of cure.
SonicFill System
Only One Layer.
The data is in!
The solid research behind these new technologies
represents our commitment to you and your patients.
Examine the portfolio of scientific research that helps
support the clinical excellence behind SonicFill.
See it in action right in your own office!
Want to experience what made Dr. Reyes and thousands more switch to SonicFill? Request a demo today!